How To Use A Laying Tool
Written by: JoAnn Gardella

A Step-by-Step Guide on How to Use a Laying Tool
“This is the best damn laying tool I’ve ever used. Please send me twelve more.”
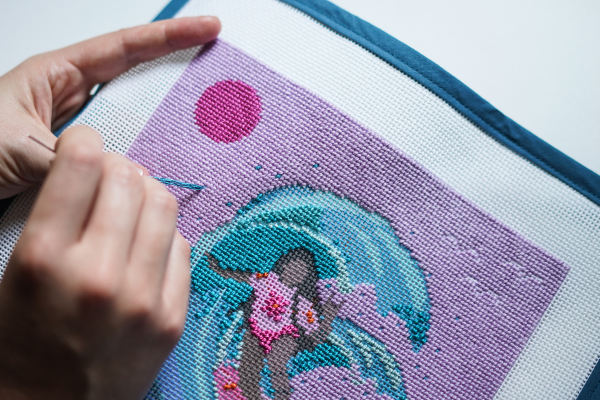
If you’re an avid needlepointer, you’ve probably heard of a laying tool and wondered how this simple, yet invaluable accessory can make a world of difference in your needlepoint projects. A laying tool is a slender, usually metal or wooden instrument designed to help you achieve neat, perfectly aligned stitches in your needlepoint. In this step-by-step guide, we’ll walk you through how to use a laying tool to elevate your needlepoint skills and create more professional-looking projects.
Step 1: Gather Your Materials
Before you start using your laying tool, gather all the necessary materials. You will need:
- Your needlepoint canvas
- A threaded needle
- A laying tool
- A well-lit and comfortable workspace
Step 2: Thread Your Needle
Thread your needle with the thread or yarn you plan to use for your needlepoint project.
Step 3: Begin Your Stitches
Start your first stitch as you normally would in your needlepoint project. This could be a tent stitch, continental stitch, or any other stitch you prefer.

Step 4: Introduce the Laying Tool
After you’ve made your first stitch, insert the laying tool under the stitch, close to where your needle is emerging from the canvas.
Step 5: Align the Stitch
With the laying tool under your stitch, gently push it towards the direction in which you want your stitch to lie. The laying tool helps to spread the fibers or threads evenly, ensuring a smooth, flat stitch.

Step 6: Secure the Stitch
While holding the laying tool in place, gently pull your threaded needle through the canvas to complete the stitch. This ensures that the stitch stays flat and neatly aligned.
Step 7: Continue Stitching
Repeat the process for each subsequent stitch in your project. As you progress, you’ll notice that your stitches lie flatter and more evenly spaced, creating a polished and professional look.
A laying tool is a small investment that can make a big difference in the quality of your needlepoint projects. With a bit of practice and attention to detail, you’ll soon be using your laying tool with ease, creating beautifully aligned stitches that will elevate your needlepoint to a whole new level of craftsmanship.
Happy stitching!


Tips for Using a Laying Tool:
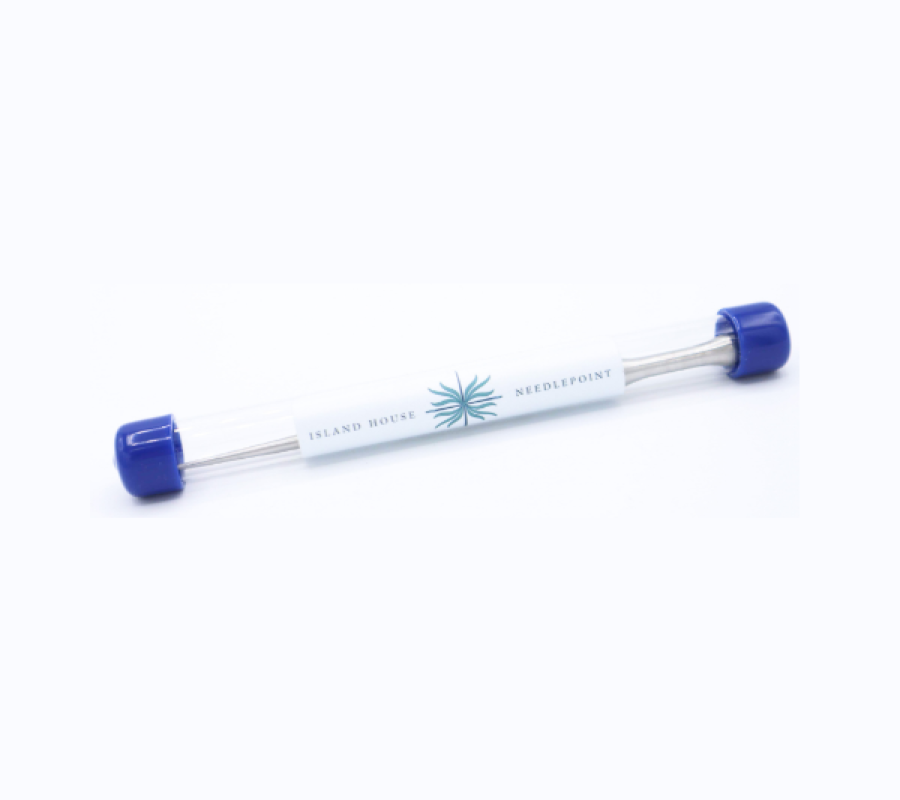
- Choose the Right Laying Tool: Laying tools come in various materials, such as metal or wood, and in different shapes. Experiment to find the one that feels most comfortable in your hand and works best for your project. As an avid stitcher with an engineering background, I have created my own laying tool that is ergonomically effective and comfortable to use. More information is available below.
- Practice Makes Perfect: Like any needlepoint technique, using a laying tool may take a little practice to master. Be patient and keep practicing to refine your skills.
- Maintain Tension: Ensure that your stitches are neither too loose nor too tight. Proper tension is key to achieving a smooth and even result.
- Consistency is Key: Try to be consistent in the pressure you apply when using the laying tool. Even, gentle pressure will yield the best results.
- Experiment with Stitch Types: Laying tools are especially useful for projects with multiple stitches, where even alignment is essential. They are also very helpful when working with ribbons, threads like Fyre Werks, Neon Rays and Silk Lamé, and more. Experiment with different stitches to see how your laying tool can improve their appearance.
Our Laying Tools
Here’s why the Island House Laying Tool is a game-changer:
- The Island House Laying tool is magnetic! This tool effortlessly attaches to any magnet on your canvas or stand, ensuring it stays put; no more hunting for your instrument.
- Crafted for hours of stitching, it’s perfectly balanced and fits snugly in your hand, regardless of how you hold it—the ideal combination of weight and balance.
- Made from 416 Stainless Steel, it’s hardened and tempered, guaranteeing the tip won’t bend or break under everyday use.
- Island House Needlepoint’s engineer (JoAnn) designed and developed them in the USA.
- They are proudly fabricated in the USA on high-precision metal working machinery by a small business in Connecticut.
- A smooth tip with the perfect taper to a small ball point allows precise control of your fibers.
- Ballpoint will not pierce ribbon or Neon Rays.
- The tapered tip also makes the tool perfect for opening canvas holes to plunge fibers and embellishments, making it an all-in-one tool.

This guide is intended to aid stitchers in developing their canvas to be finshed by Island House Needlepoint.
Duplication or use for purposes other than those stated herein will be considered copyright infringement.
